DIY Magnetic Makeup Board
DIY Magnetic Makeup Board
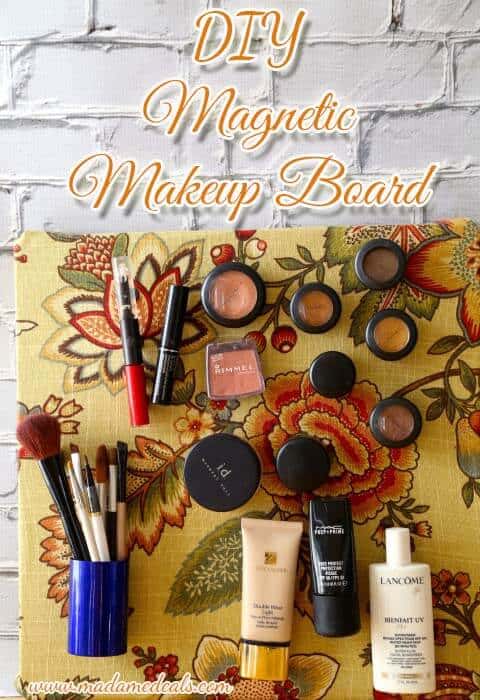
Do you have lots of makeup laying around? I have the same problem! There are times that it’s hard to find what I need easily whenever I’m in rush, that’s why I want to share with you a great way to organize your makeup and beauty products. I super love my DIY Magnetic Makeup Board, it only took me a few minutes to make and now I can see what I need easily, no need to search drawers or makeup bags. You can even make several boards for your morning or night skincare and makeup routine.
How to Make DIY Magnetic Makeup Board
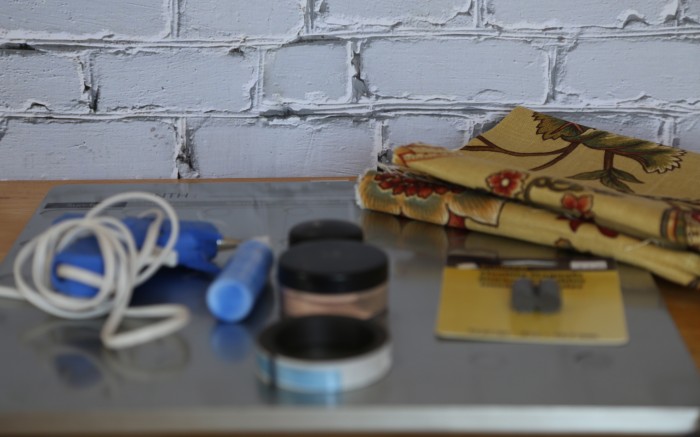
Materials:
- Cloth large enough to cover your board.
- Glue Gun
- Magnets
- You can also use magnetic tape
- Magnetic Dry-Erase Board (Size depends on what you want)

First make sure to iron your cloth to flatten and remove the wrinkles.
Measure enough cloth size that will cover your magnetic board.
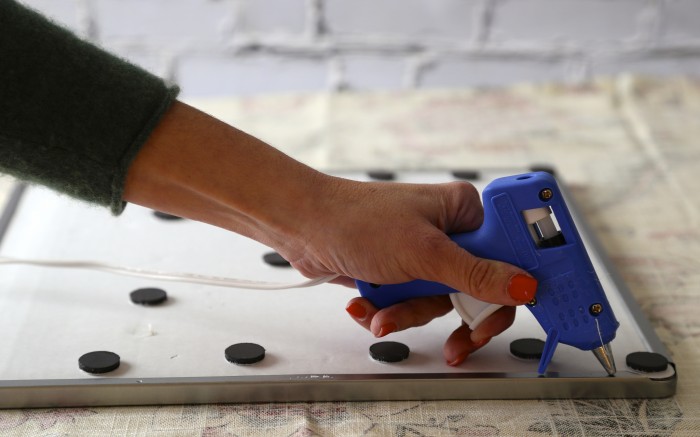
Then place your cloth on the table, with the back part facing upward.
Then place your magnetic board on top.
Stick the magnets at the back of your board.
Using the glue gun, put glue around the edge of the magnetic board.
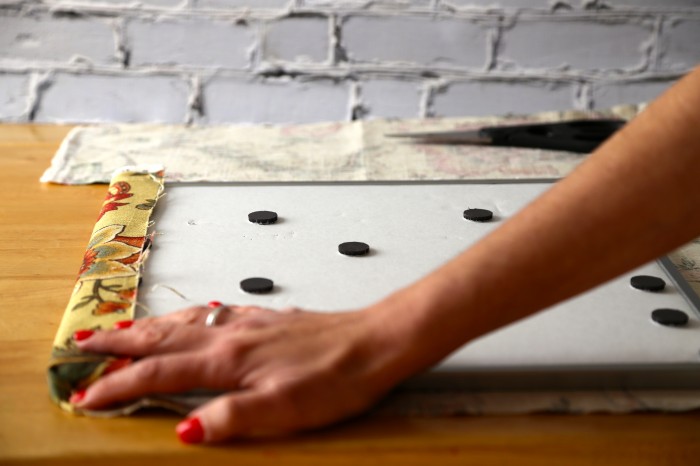
Next wrap the cloth around the magnetic board. Sticking it to the glued part.
Make sure to stretch it properly, so the front part will be wrinkle free.

This is how it looks now.
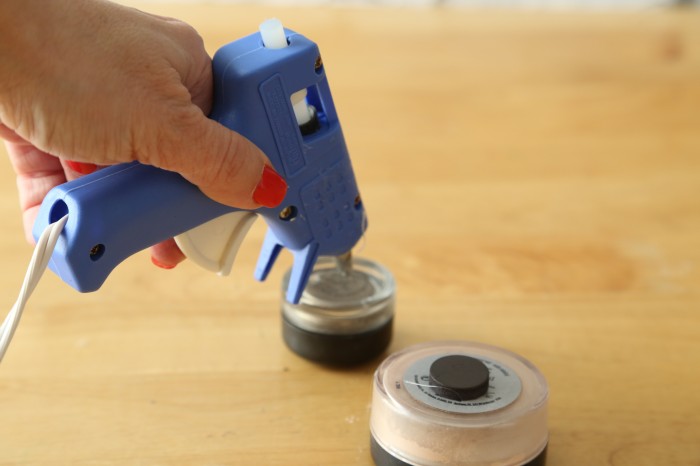
Next part is to place magnets at the back of your makeup or other beauty products. You can use glue gun to stick your magnets or buy those magnetic tapes.
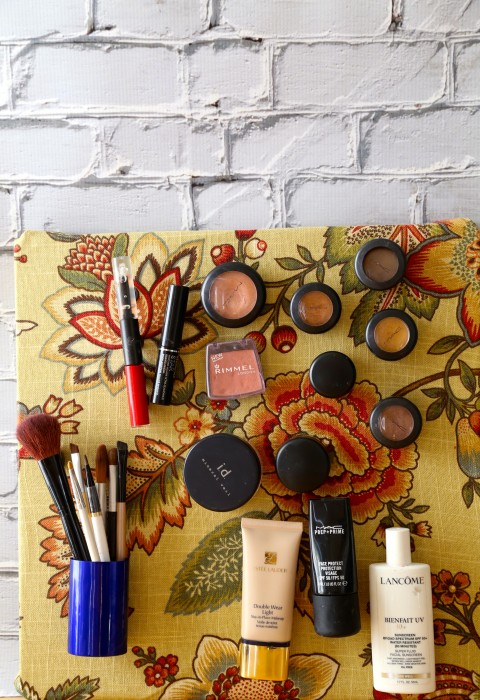
That’s it, enjoy your DIY Magnetic Makeup Board!
Need makeup tips? Read our Ask a Makeup Artist articles.
For an all natural beauty, check out our Homemade Beauty Recipes and our other Beauty Tips!
Topic: Magnetic Makeup Board

Cook, Baker, Phototaker, Fitness Mover and Shaker, Cupcake Tester, Deal Maker, Adventurous Undertaker, Do Good “Deeder”, Teacher, Mom, Wife, Patriot for Life & Giver of Good Advice – RealAdviceGal


