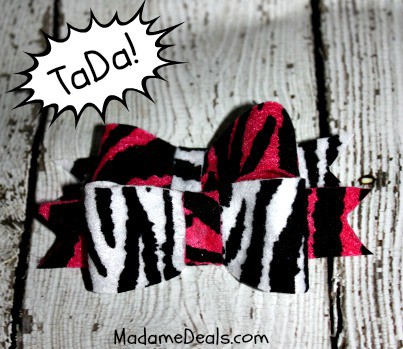
Felt Craft Projects: DIY Felt Hairbow Tutorial
Felt Craft Projects
DIY Felt Hairbow Tutorial
My little girl loves all things bow, and I’ll be honest, as do I! But they can get expensive! So when I found a way to make a bow for around 25 cents I had to try it! You can grab sheets of felts in all kinds of colors for only 20 cents at Walmart for this Felt Craft Projects! These DIY Felt Hairbows are super simple to make, and you can customize them with all different colors and themes! So now I will show you how I made these DIY Felt Hairbows!
Felt Craft Projects
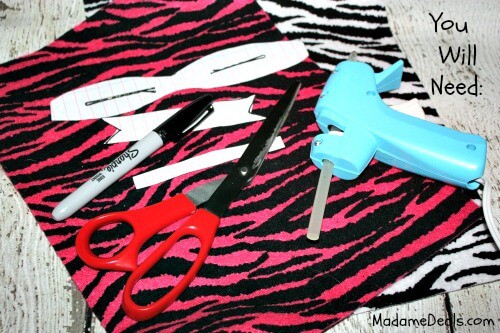
Here is what you will need to make these DIY Felt Hairbows:
- 2 felt sheets. These can be in the same color or coordinating colors
- A felt bow pattern, I used this one. She is awesome!
- A glue gun
- A marker
- Scissors
Here is how to make these DIY Felt Hairbows:
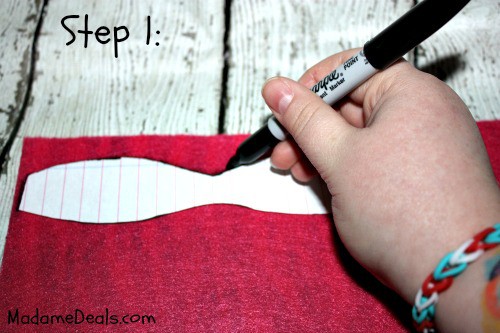
Step 1: First print out your template and cut it out. Trace the shapes on your felt.
 Step 2: Cut out all your shapes! There will be your main bow, the back, and the middle.
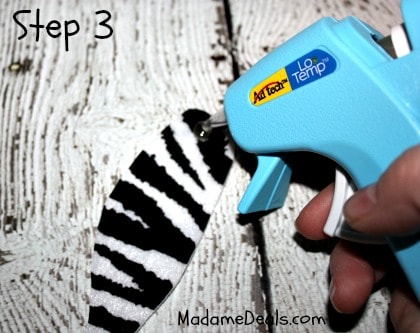 Step 3: Using your glue gun put a small dot of glue on one end of your big bow piece.
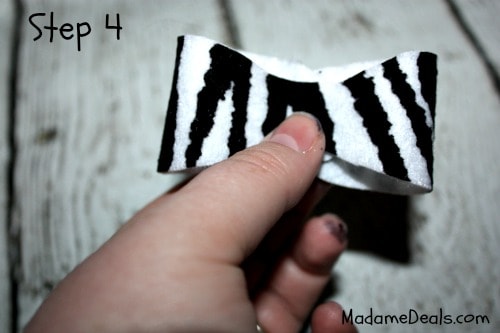 Step 4: Press the ends of your bow together. Now you have your bow shape! Put a dot of glue on the inside on your bow and press together.
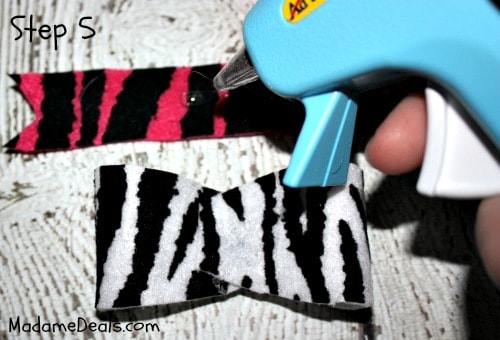 Step 5: Next, secure your bow to the back with a small dot of glue.
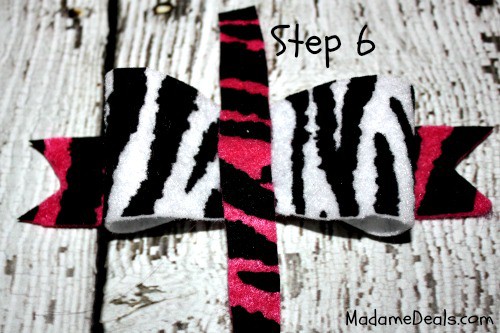
Step 6: Almost done! Glue your middle piece down and around and secure with another dot of glue! Easy Peasy!
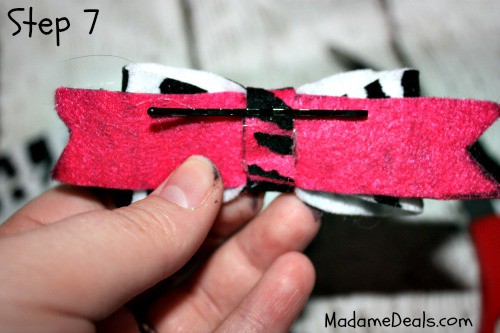
Step 7: And last, slide a bobby pin (or hair clip!) on the back on the bow and you are ready to wear!
And that’s all for this Felt Craft Projects! 7 simple steps and about 10 mins and you have custom DIY Felt Hairbows! I loved how easy this project was to do, and I plan on making many more for my little girl, so she can have a bow to match every outfit ha!
What are some of your favorite Felt Craft Projects?
Related articles across the web

Cook, Baker, Phototaker, Fitness Mover and Shaker, Cupcake Tester, Deal Maker, Adventurous Undertaker, Do Good “Deeder”, Teacher, Mom, Wife, Patriot for Life & Giver of Good Advice – RealAdviceGal


